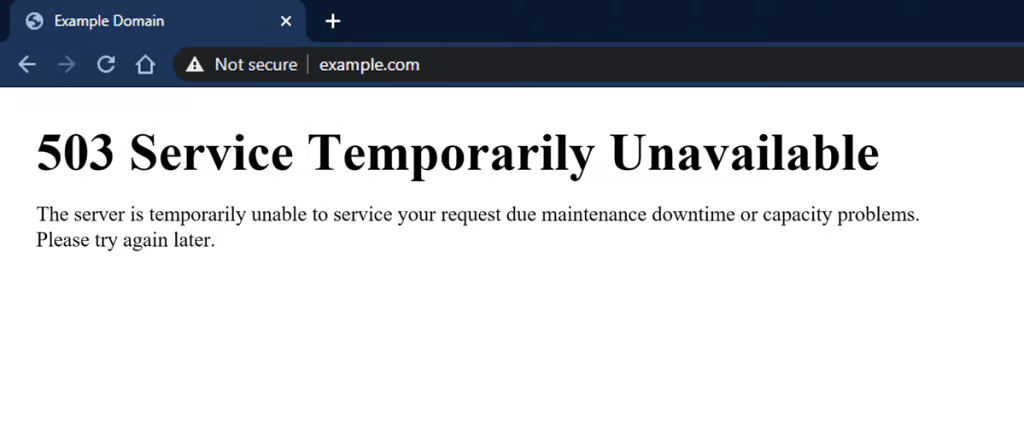
There’s a unique feeling of dread that washes over you when you type in your website’s address and are greeted not by your beautiful homepage, but by an ominous error message. “This site can’t be reached”. “500 Internal Server Error”. The White Screen of Death. Your stomach drops.
Don’t panic. A website going down happens to everyone, from small bloggers to massive corporations. The cause is often simpler than you think.
At HimariDT, we believe in empowering you to solve your own tech problems. This guide is your emergency checklist. By following these five steps in order, you can systematically diagnose the issue, fix it, and get your site back online.
Confirm if it’s actually down
Before you start diving into your website’s backend, you need to be sure the problem isn’t on your end. Your computer or internet connection could be the real culprit.
- Do a hard refresh: Your browser stores a “cached” version of websites to load them faster. This version might be old or corrupted. A hard refresh forces it to download a fresh copy.
- On Windows/Linux: Press Ctrl + F5
- On Mac: Press Cmd + Shift + R
- Check from another device: Grab your phone, disconnect it from Wi-Fi (to use mobile data), and try to access your website. If it loads on your phone, the problem is with your computer or local network.
- Use a “down checker” tool: Go to a website like downforeveryoneorjustme.com or isitdownrightnow.com. Enter your site’s URL. These tools will try to access your site from multiple locations around the world and give you an impartial verdict.
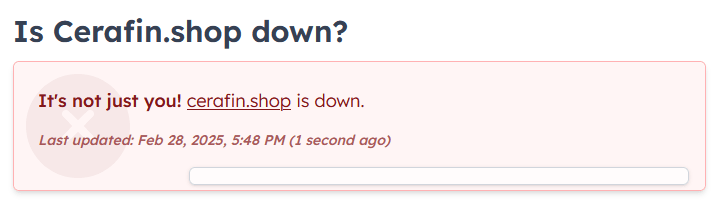
If the site is only down for you, the problem is likely your local network or cache. If the site is down for everyone, it’s time to proceed to the next step.
Check your domain and hosting status
Two of the most common (and embarrassing) reasons for a site to go down are expired services. It’s like forgetting to pay the rent or letting your business license expire.
- Check your domain: Log in to your domain registrar (the company you bought your domain from, like Spaceship or Namecheap).
- Is your domain expired? Check the expiration date.
- Is your payment information up to date? Sometimes an auto-renewal can fail due to an expired credit card.
- Check your web hosting: Log in to your hosting provider’s dashboard (like Hostinger or SiteGround).
- Is your hosting plan active and paid for?
- Have you exceeded your resource limits (like bandwidth)?
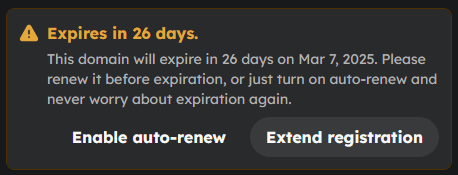
If either your domain or hosting has expired, renew it immediately. Note that after renewing, it can take anywhere from a few minutes to a few hours for your site to come back online as the system updates.
Check your hosting provider’s server status
Sometimes, the problem has nothing to do with you or your website. Your hosting company’s server might be experiencing a widespread outage.
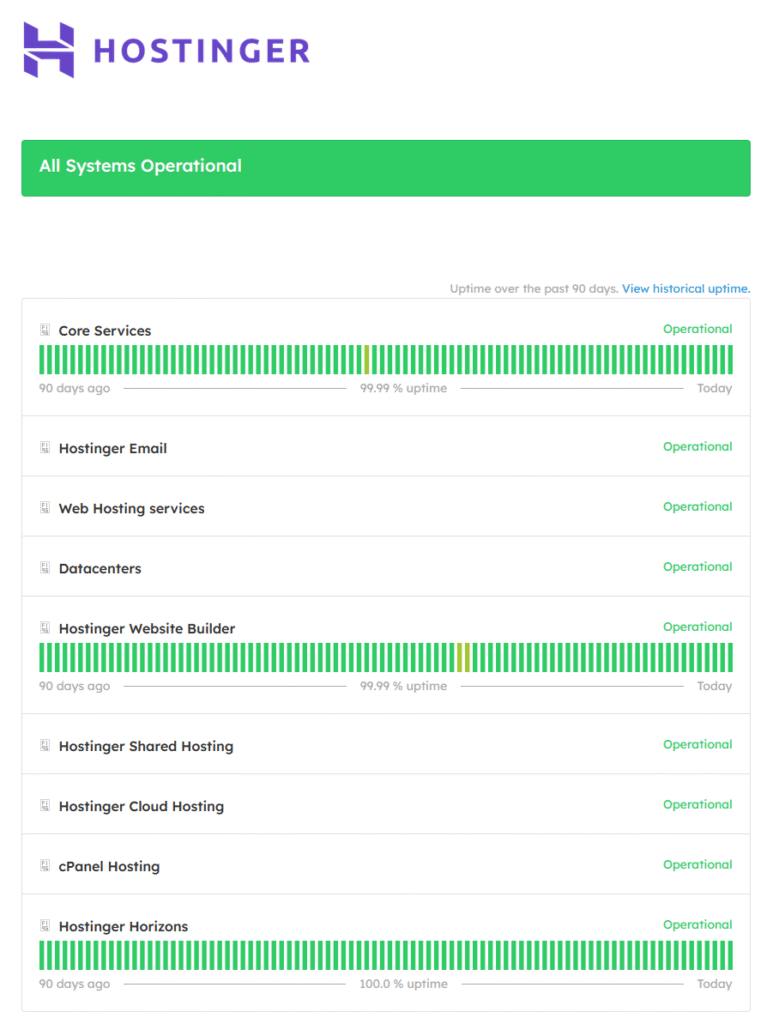
- Most reputable hosting providers have a public “Server Status” or “Network Status” page on their website. This is the first place they will report any major issues. Google “[Your Host’s Name] status page”.
- Follow your hosting provider on Twitter/X. It’s often the fastest way to get real-time updates on outages and maintenance.
Some hosting providers (such as Hostinger) also post the upcoming maintenance notice in the main page.
If your host is reporting a server-wide issue, there is nothing you can do on your end. The best course of action is to be patient and monitor their status page for updates. This is out of your control.
Investigate recent changes
If the problem isn’t external, it’s time to look inward. The most common cause of a self-inflicted outage, especially on a WordPress site, is a recent change.
Think back: what was the very last thing you did on your site’s backend?
- Did you just install or update a plugin or theme? A faulty update or a conflict between plugins is the #1 cause of the “WordPress White Screen of Death”.
- Did you just add a custom code snippet? A single typo, a missing semicolon, or a misplaced character in your theme’s code can bring the entire site down.
You can fix this without needing access to your WordPress admin dashboard.
- Log in to your hosting account and open the File Manager (or use an FTP client like FileZilla).
- Navigate to your WordPress installation, and find the
wp-contentfolder. - To disable a plugin: Go into the
pluginsfolder. Find the folder of the plugin you just installed or updated and rename it (e.g., fromnew-plugintonew-plugin-deactivated). This will automatically disable it. Now, check if your site is back online. - To disable a theme: Go into the
themesfolder and rename your active theme’s folder. This will force WordPress to fall back to a default theme.
If your site comes back after renaming a folder, you’ve found the source of the problem!
Check error logs and contact support
If you’ve tried all of the above and are still staring at an error page, it’s time to gather more data and call in the experts.
- In your hosting control panel (cPanel, hPanel, etc.), look for an icon called “Error Logs”. This file records any critical errors that have occurred on your site. Even if the text looks like gibberish to you, copy the most recent error messages. They are the exact clue your support team will need.
- For WordPress users, you can edit your
wp-config.phpfile and change the linedefine( 'WP_DEBUG', false );todefine( 'WP_DEBUG', true );. This will often display the specific PHP error on your screen, telling you exactly which file and line of code is causing the problem. (Remember to turn it off when you’re done!)
Open a support ticket or start a live chat with your hosting provider. Provide them with as much information as possible:
- Your domain name.
- The exact error message you are seeing.
- What you were doing right before the site went down.
- The contents of your error logs.
The more details you provide, the faster they can diagnose and solve the problem.
Regular backups
Going through a website outage is stressful, but it’s a valuable learning experience. The ultimate safety net in any of these scenarios is having regular backups of your website. With a recent backup, you can often restore your site to a working state in just a few clicks, making any problem far less terrifying.
Stay calm, work through the checklist, and you’ll have your site back online in no time.