So, you’re ready to launch your website. You have the idea, the content, and the drive. But before you can share your vision with the world, you need two fundamental things: a domain name and web hosting.
Think of it like building a house:
- A domain name is your street address (e.g.,
himaridt.buzz). It’s the unique name people type into their browser to find you. - Web hosting is the plot of land and the house itself where you store all your belongings (your website’s files, images, and content).
Today at HimariDT, we’ll guide you through purchasing these two essential components from two excellent providers: Spaceship for your domain and Hostinger for your hosting. Since this is also a setup that we use to create this website, we personally have some experience to share with these providers.
We’ll show you how to buy them and, most importantly, how to connect them.
Why we should buy a domain and hosting seperately?
While many hosting providers offer a free domain for the first year, there are good reasons to keep them separate:
- If you’re unhappy with your hosting, you can move your website to a new provider without the hassle of transferring your domain.
- It prevents a single company from having total control over your entire online presence.
- Dedicated domain registrars like Spaceship often have simpler, more focused interfaces for managing your domains.
Buying your domain name with Spaceship
Spaceship is a popular domain registrar known for its clean interface and competitive pricing. Let’s get your address.
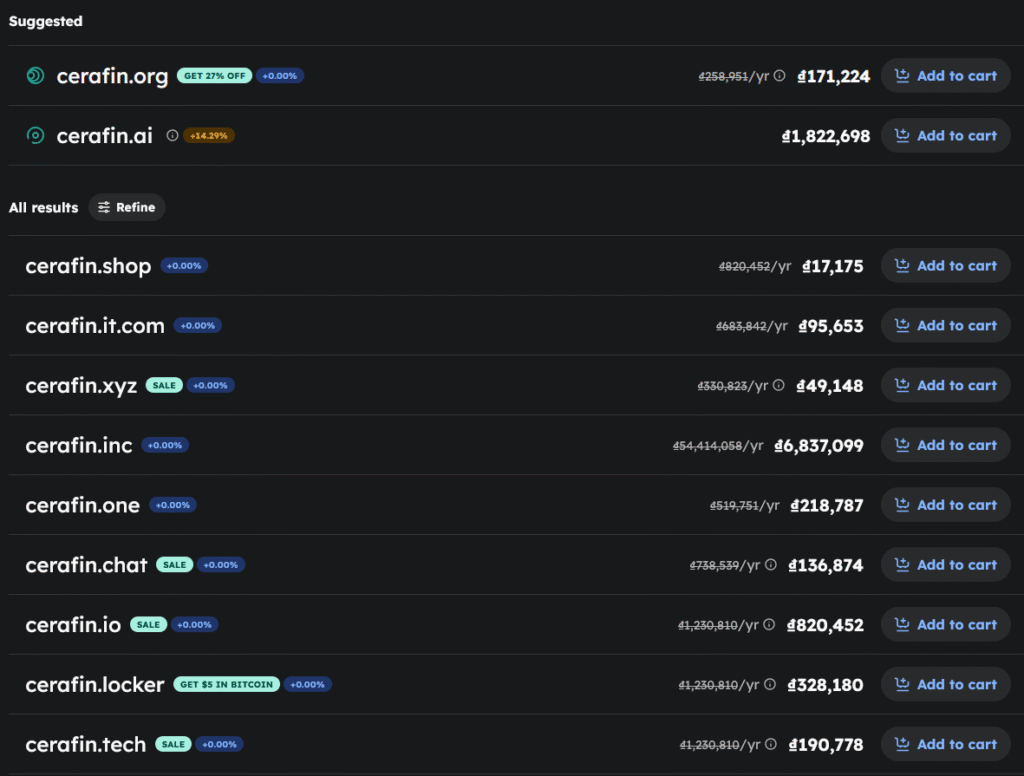
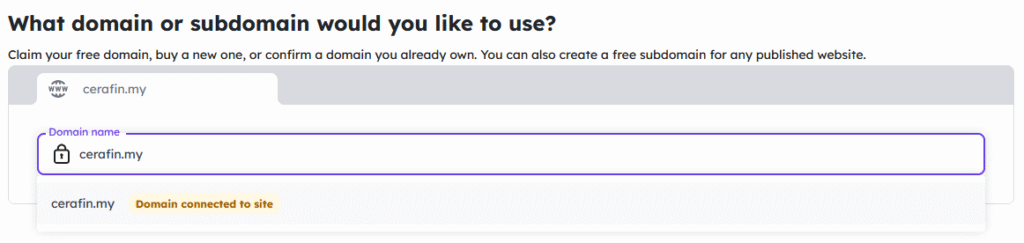
Step 1. Search for your perfect domain
- Head over to the Spaceship website.
- You’ll see a prominent search bar. Type your desired domain name into it and hit Search.
- Spaceship will tell you if the name is available. If it is, you’ll see an “Add to cart” button. If not, it will suggest alternatives with different extensions (like
.com,.net,.io, etc.).
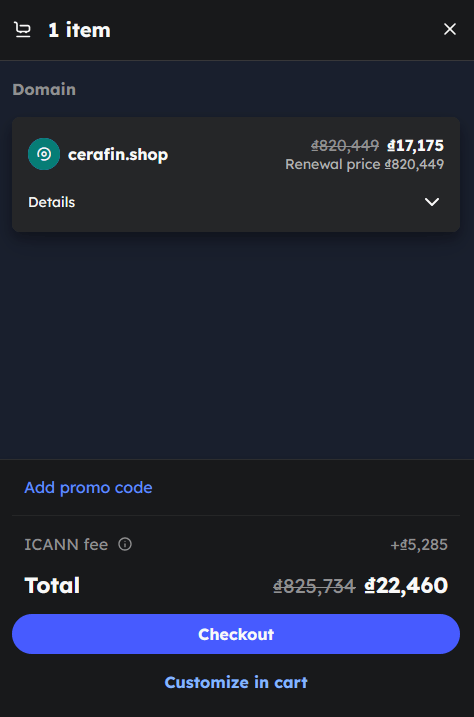
Step 2. Add to cart and check out
- Once you’ve found an available domain you love, click Add to cart and then Checkout.
- On the checkout page, you can choose the registration period (1 year, 2 years, etc.).
- Spaceship includes WHOIS Privacy for free. This is a crucial feature that hides your personal information (name, address, email) from a public database. Always keep this enabled.
- You’ll be prompted to create a new account or log in.
- Complete the payment process.
Congratulations! You are now the official owner of a domain name. You’ve secured your unique address on the internet.
Buying your hosting plan with Hostinger
Hostinger is known for its excellent performance, user-friendly control panel (hPanel), and affordable prices, making it a fantastic choice for beginners and small businesses.
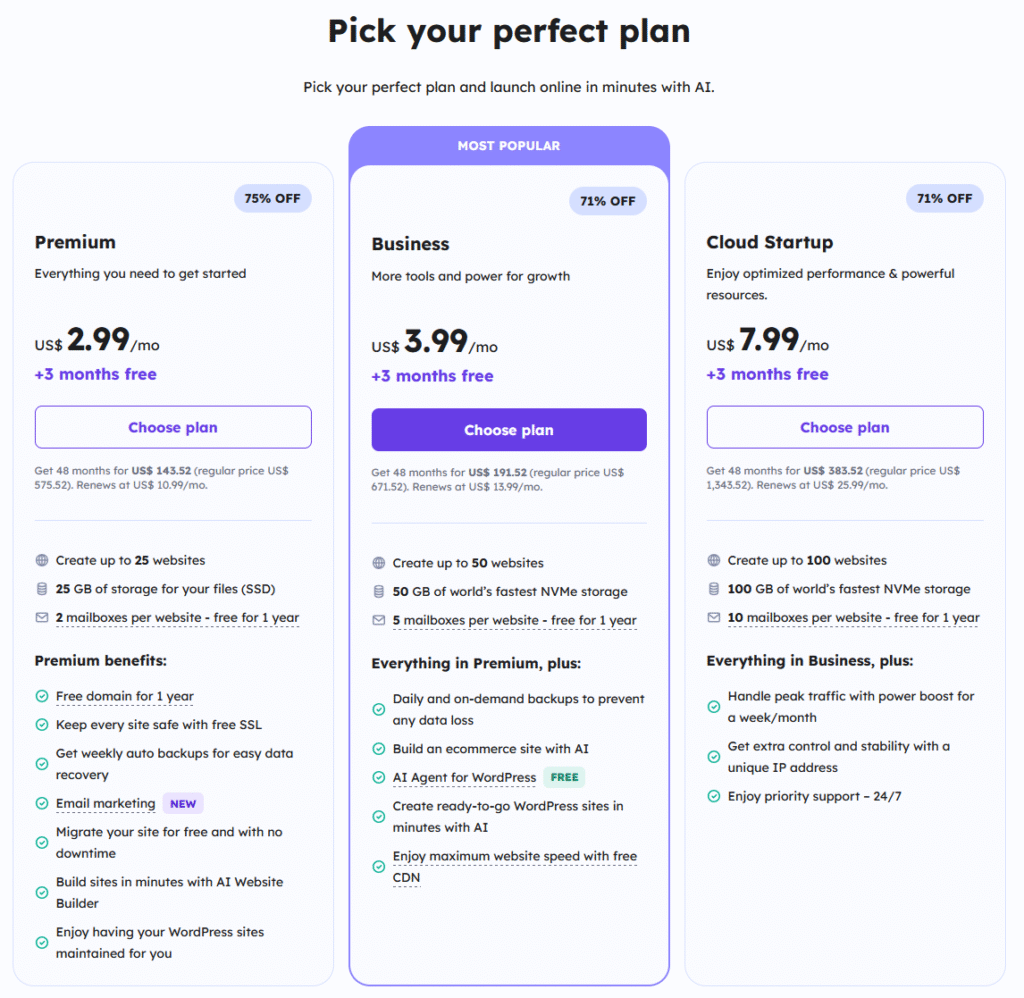
Step 1. Choose your hosting plan
- Go to the Hostinger website, scroll down and you will see the plans they offer.
- You’ll typically see several plans, like Premium, Business, and Cloud Startup. For a new website, the Premium plan is usually the perfect starting point. It allows you to host multiple websites and offers great performance.
- Click Choose plan on your chosen plan.
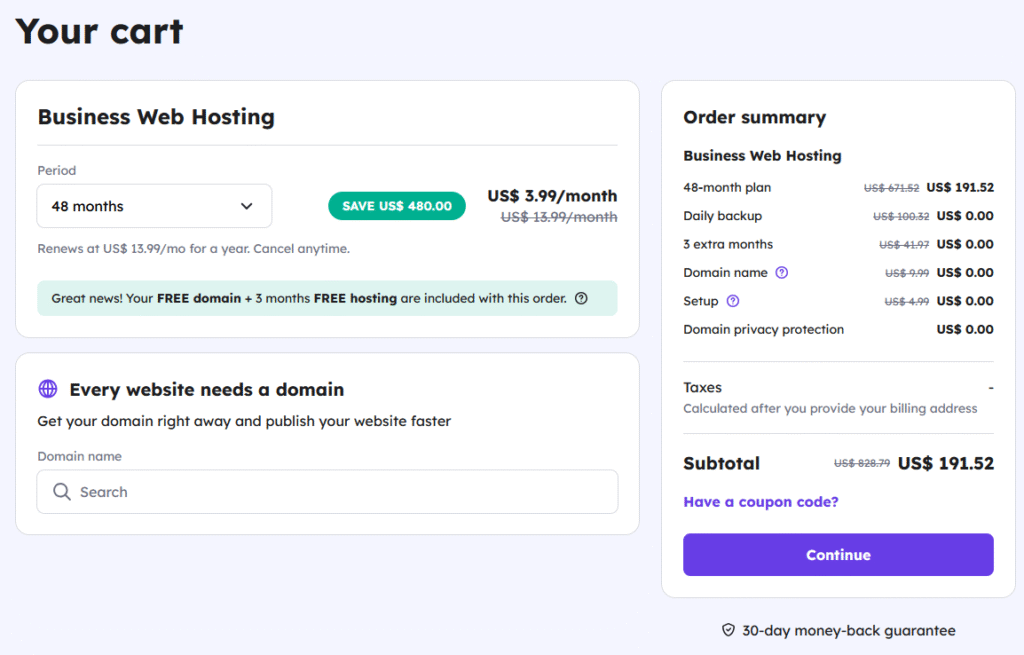
Step 2. Configure and purchase
- On the next screen, you’ll choose your subscription period (12, 24, or 48 months). Longer plans offer a much better monthly rate.
- Create your account and select a payment method.
- You’ll see an option to “Choose a domain”. Since you already bought one, you can skip this.
- Complete the purchase.
Step 3. Initial hosting setup
After payment, Hostinger will guide you through a simple setup wizard.
- You’ll be asked if you’re creating a new website. Click Select.
- Choose the platform you want to use, such as WordPress or Hostinger’s Website Builder.
- Create your login details for your chosen platform (e.g., your WordPress admin account).
- The wizard will ask if you want to connect a domain. Select the option that says “Use an existing domain” and enter the domain name you bought from Spaceship (e.g.,
himaridt.buzz).
The wizard will then build your site, and you’ll be taken to Hostinger’s control panel, hPanel. It will show you a message that your domain is not yet pointing to Hostinger. Now, for the final, crucial step.
Connecting your domain to your hosting
This step involves telling your domain registrar (Spaceship) where your hosting server (Hostinger) is located. We do this by updating the nameservers.
Think of nameservers as the postal service for the internet. You need to tell Spaceship to direct all mail (traffic) for your address to your new house at Hostinger.
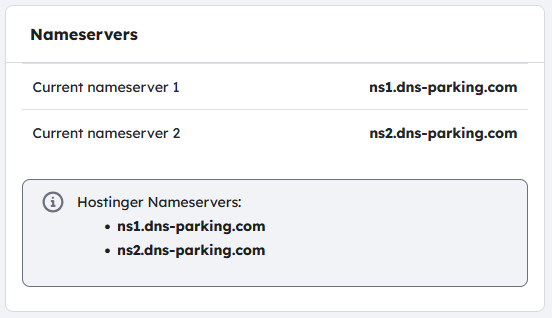
Step 1. Find Hostinger’s nameservers
- In your Hostinger hPanel, go to the Domains section.
- Click on your domain name.
- You will see the domain’s details, and Hostinger will clearly display its required nameservers. They will look something like this:
ns1.dns-parking.comns2.dns-parking.com
- Copy these two values.
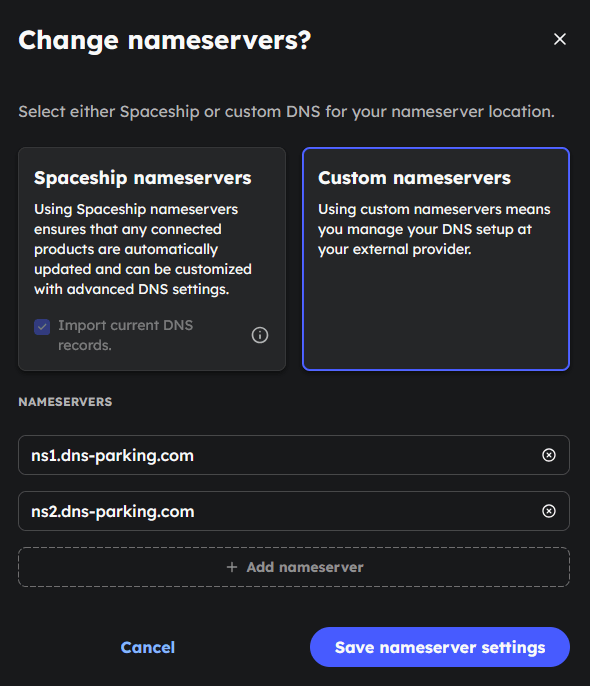
Step 2. Update nameservers in Spaceship
- Log in to your Spaceship account.
- Click Launchpad -> Domain Manager and click on the domain you want to manage.
- Click Nameservers & DNS.
- You’ll see that it’s currently using Spaceship’s default nameservers. Click Change and choose the option to use custom nameservers.
- Delete the existing entries and paste the two nameservers you copied from Hostinger into the fields.
- Click Save nameserver settings.
Step 3: Wait for Propagation
You’ve done it! Now, you just need to be patient. It can take anywhere from 30 minutes to 24 hours for the changes to take effect across the global internet. This process is called DNS propagation. You can use a tool like DNS Checker to see your domain’s progress.
Once it’s complete, typing your domain name into a browser will load the website you set up on your Hostinger account.
You’ve successfully purchased your digital address and built the foundation for your house online. By keeping your domain at a registrar like Spaceship and your files at a host like Hostinger, you’ve created a flexible and powerful setup for your web journey. Welcome to the neighborhood!